There certainly seems to be no slowing down in the number of N64 games now being recompiled and ported to the PC. From the first golden age of 3D platform games comes 1998’s Banjo-Kazooie. By 1998 Rare Limited were well established as a premium developer of Nintendo 64 content, giving the system some of its most memorable titles. Banjo-Kazooie is a superbly well designed and implemented platform game that showed off the strengths of the Nintendo 64 and Rare’s confidence with game development on the system. The game would see an enhanced re-release in 2008 on the Xbox 360, but this new fan made port goes even further, allowing for a slew of new enhancements and improvements.
Installing the game
In order to join Banjo and Kazooie on this adventure on your PC, you need two things. The first thing is the files for the recompiled game, which can be downloaded from the page here.
The second thing you need is a copy of the game. The copy must be the US version 1.0 of the game. Using a device such as a Joey N64, you can take this directly from your own cartridge or even run the game directly from the cartridge. Please remember that playing this game without a legally owned copy of the original is in violation of copyright law.
Once you have everything you need, you can start the game. You should see the window shown below:-
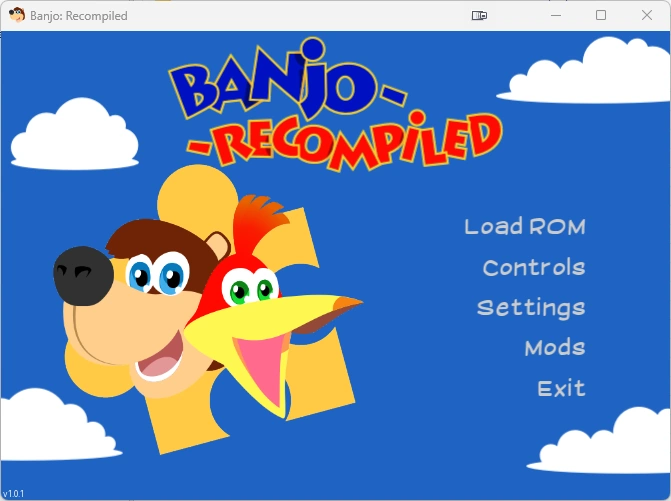
Start by choosing “Load ROM”. You can use a controller or the mouse to navigate the options. A standard file requester window will open, allowing you to browse to the ROM on your computer or on the original cartridge if using a Joey 64 or similar device.
Once you have selected a valid ROM file, the top option will change to “Start Game”, no prizes for guessing what this option does!
Tweaking visual quality
How you play Banjo on your modern PC is entirely up to you. Do you run it at original resolution and aspect ratio for a more authentic experience? Alternatively, do you go all out and take advantage of nearly 30 years of hardware advancement? With the recomp, you can push the game to dizzying new heights which the N64 could never have accomplished. Whichever path you want to take, setting options in the recomp is easy. Press the Escape/ESC key on your computers keyboard, or the menu button on your game controller, to open the settings menu, then choose the “Graphics” tab.
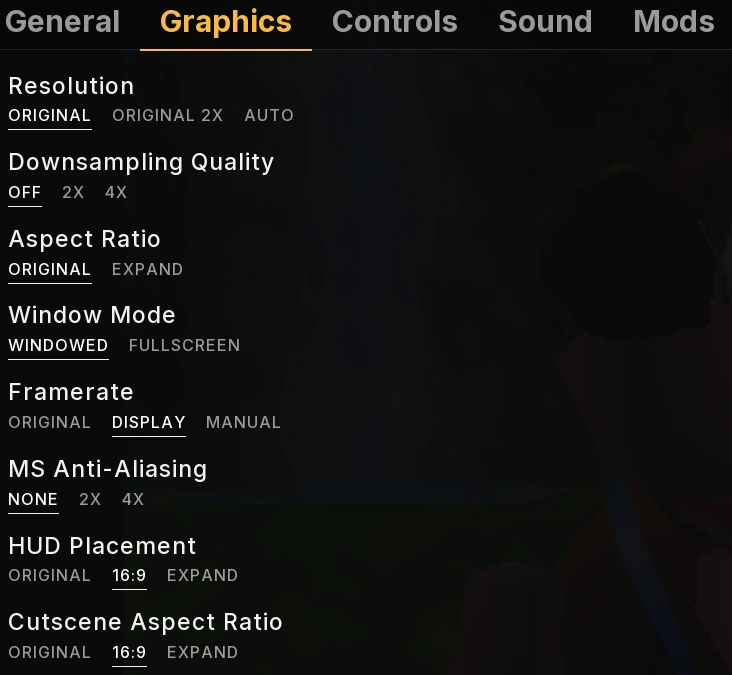
Fortunately, for lazy videogame guide writers like myself, hovering over each of these options with the mouse pointer gives a good explanation of what each one of them does, so we only need to have some general pointers below.
Resolution – You can choose to play the recomp in its original resolution if you wish. If you feel like something is still missing when you do this, it is probably because there are no CRT scanlines. The games original resolution of (roughly) 320×240 caused blank lines or scanlines when displayed on a tube television from the era. To get this effect back, you could use an external scaler such as the PixelFX Morph, or software such as ShaderGlass.
Downsampling Quality – Downsampling aims to smooth out the visuals, keeping some of the original look, perhaps arguably making the characters look more like they would have done on a display from back in the 1990s. Turn this option off if you prefer a sharp, more modern look.
Widescreen / Ultra Widescreen – You can play the recompiled game in anything from it’s original 4:3 aspect ratio all the way up to 32:9 or more. Remember that if you do, you might see parts of the game that you were never supposed to see, such as Gruntilda taking a cigarette break just off camera in one level (just kidding). If you’re going for 16:9 (the standard aspect ratio for televisions now) choose “16:9”, for ultrawide choose “expand”. You might want to leave “Cutscene Aspect Ratio” as original to avoid any messy/unwanted visuals spoiling the cutscenes.
If you want to take things even further, there are a number of mods that can add visual enhancements that we could have only dreamed of back in the 90s, we will cover those later in the article.
Configuring controllers
If you want to use an Xbox or PlayStation controller with the recomp, it should by and large work without any reconfiguration at all. Simply plug it in and start playing. You can of course remap any controls using the games menus.
Perhaps surprisingly, it took a lot more effort to get an original N64 controller working with the game. Most adapters that let you connect an N64 controller to a Windows PC use DirectInput/HID rather than the newer XInput standard. Unfortunately, Banjo Recompiled doesn’t support DirectInput controllers at all. We can’t imagine we’re the only people wanting to play the game with the controller it was designed for, so the fact that support for this control method is rather lacking is a little disappointing, but it’s nothing we can’t work around. If you’re looking for a new adapter to connect your N64 controller to the PC then we’d definitely recommend the Gamer Pro Advance or 4-Play Advance. These adapters support XInput directly, meaning they work with the least amount of configuration with these new N64 recomps.
If you have an N64 to PC adapter then, to get started, you might want to download our pre-made controller configuration here. Once downloaded, unzip the file and copy the controls.json to “%localappdata%\banjorecompiled”. Simply copy and paste this path, without the quotation marks, into the address bar in File Explorer to get to the desired location. Feel free to backup your old file, just in case. If you lose this file the game will just create a new one with the default mappings.
This provided configuration should be correct for both Gamer Pro Advance and Gamer Pro Classic. If you have a legacy N64 to USB adapter, you may need to remap some buttons, but for now, follow the specific instructions for your particular adapter below.
Gamer Pro Advance / 4 Play Advance
This adapter is the easiest to get working as it supports the Xinput protocol that the game demands. Note that if you have a Gamer Pro Advance and you do NOT want to open it to change it to Xinput mode, follow the instructions for legacy adapters below.
First of all, you need to map the “Toggle Menu” input to an input that is NOT on the N64 controller. You can skip this step if you downloaded and copied over our controller.json file as it’s already taken care of. Connect an Xbox or PlayStation controller to your PC, start BanjoRecompiled and in the Controls options menu, map “Toggle Menu” to left stick press/click. Why this input in particular? We’ll see in a moment.
You should now set your 4 Play Advance / Gamer Pro Advance into X-Input mode. On the 4 Play advance that’s the dip switch at the back of the unit, on the Gamer Pro, you need to open the unit and change over the jumpers. With this setting changed, connect your N64 pad to your adapter and the game should recognise it. You should now be ready to play. Remap/reconfigure any inputs as desired in the games controller configuration menu.
Gamer Pro Classic, 4 Play Classic and legacy adapters
These popular controller adapters only support DirectInput and therefore need a little extra configuration. To get around this limitation, we will use a tool called “XOutput”.
Xoutput is a DirectInput to Xinput wrapper, it creates a virtual Xinput controller for you. This tool will be covered in more detail in a separate tutorial so we’re not going to go into detail here. Again, a pre-prepared configuration file for Gamer Pro/4-Play users can be downloaded here. Simply copy this file into your Xoutput directory, overwriting the settings.json file that’s already there. This file contains all the controller mapping information so take a backup of the existing file first if you need it for any reason.
Menu hotkey (GP/4 Play adapters only) – When using an Xbox or other modern controller, the recomp allows you to press the Select button in order to open the configuration menu, this allows you to change settings on the fly from your controller. The Gamer Pro adapters support something called “HotKey” which allows you to hold down a button combination for two seconds to activate another button. In this instance, if you were to hold down Start and Z on the N64 controller, then button 19 would be pressed. This button doesn’t exist on the N64 pad but, on the Xbox Pad, it is the button that’s pressed when you click down the left analogue stick. Since we mapped the left analogue stick to “Toggle Menu”, we can now toggle the menu from our N64 pad by pressing and holding Start and Z, very handy. Make sure you are using the latest version of the Gamer Pro/4 Play firmware, in earlier versions of the firmware, a bug exists that means the button combination isn’t always registered.
If this menu hotkey doesn’t work, you may already have a hotkey assigned. Use the Bliss Box API tool to clear the current hotkey (click the “HotKey” button in the app while no buttons are pressed on the controller). Now, set the default hotkey by holding down Start and then clicking the “HotKey” button again.
Mods
There are a number of mods already available for the game, ranging from simple quality of life improvements like the ability to skip the intro, to total transformations. Mods are of course entirely optional, and it depends on what kind of game you’re looking to play. For something that’s as authentic to the N64 version as possible, skip mods and visual enhancements entirely.
For a more modern version of the game, try the following mods.
- Asset Expansion Pak (this is needed by some other mods on this list)
- Always High Poly Banjo
- Extended Draw Distance
- FOV Slider
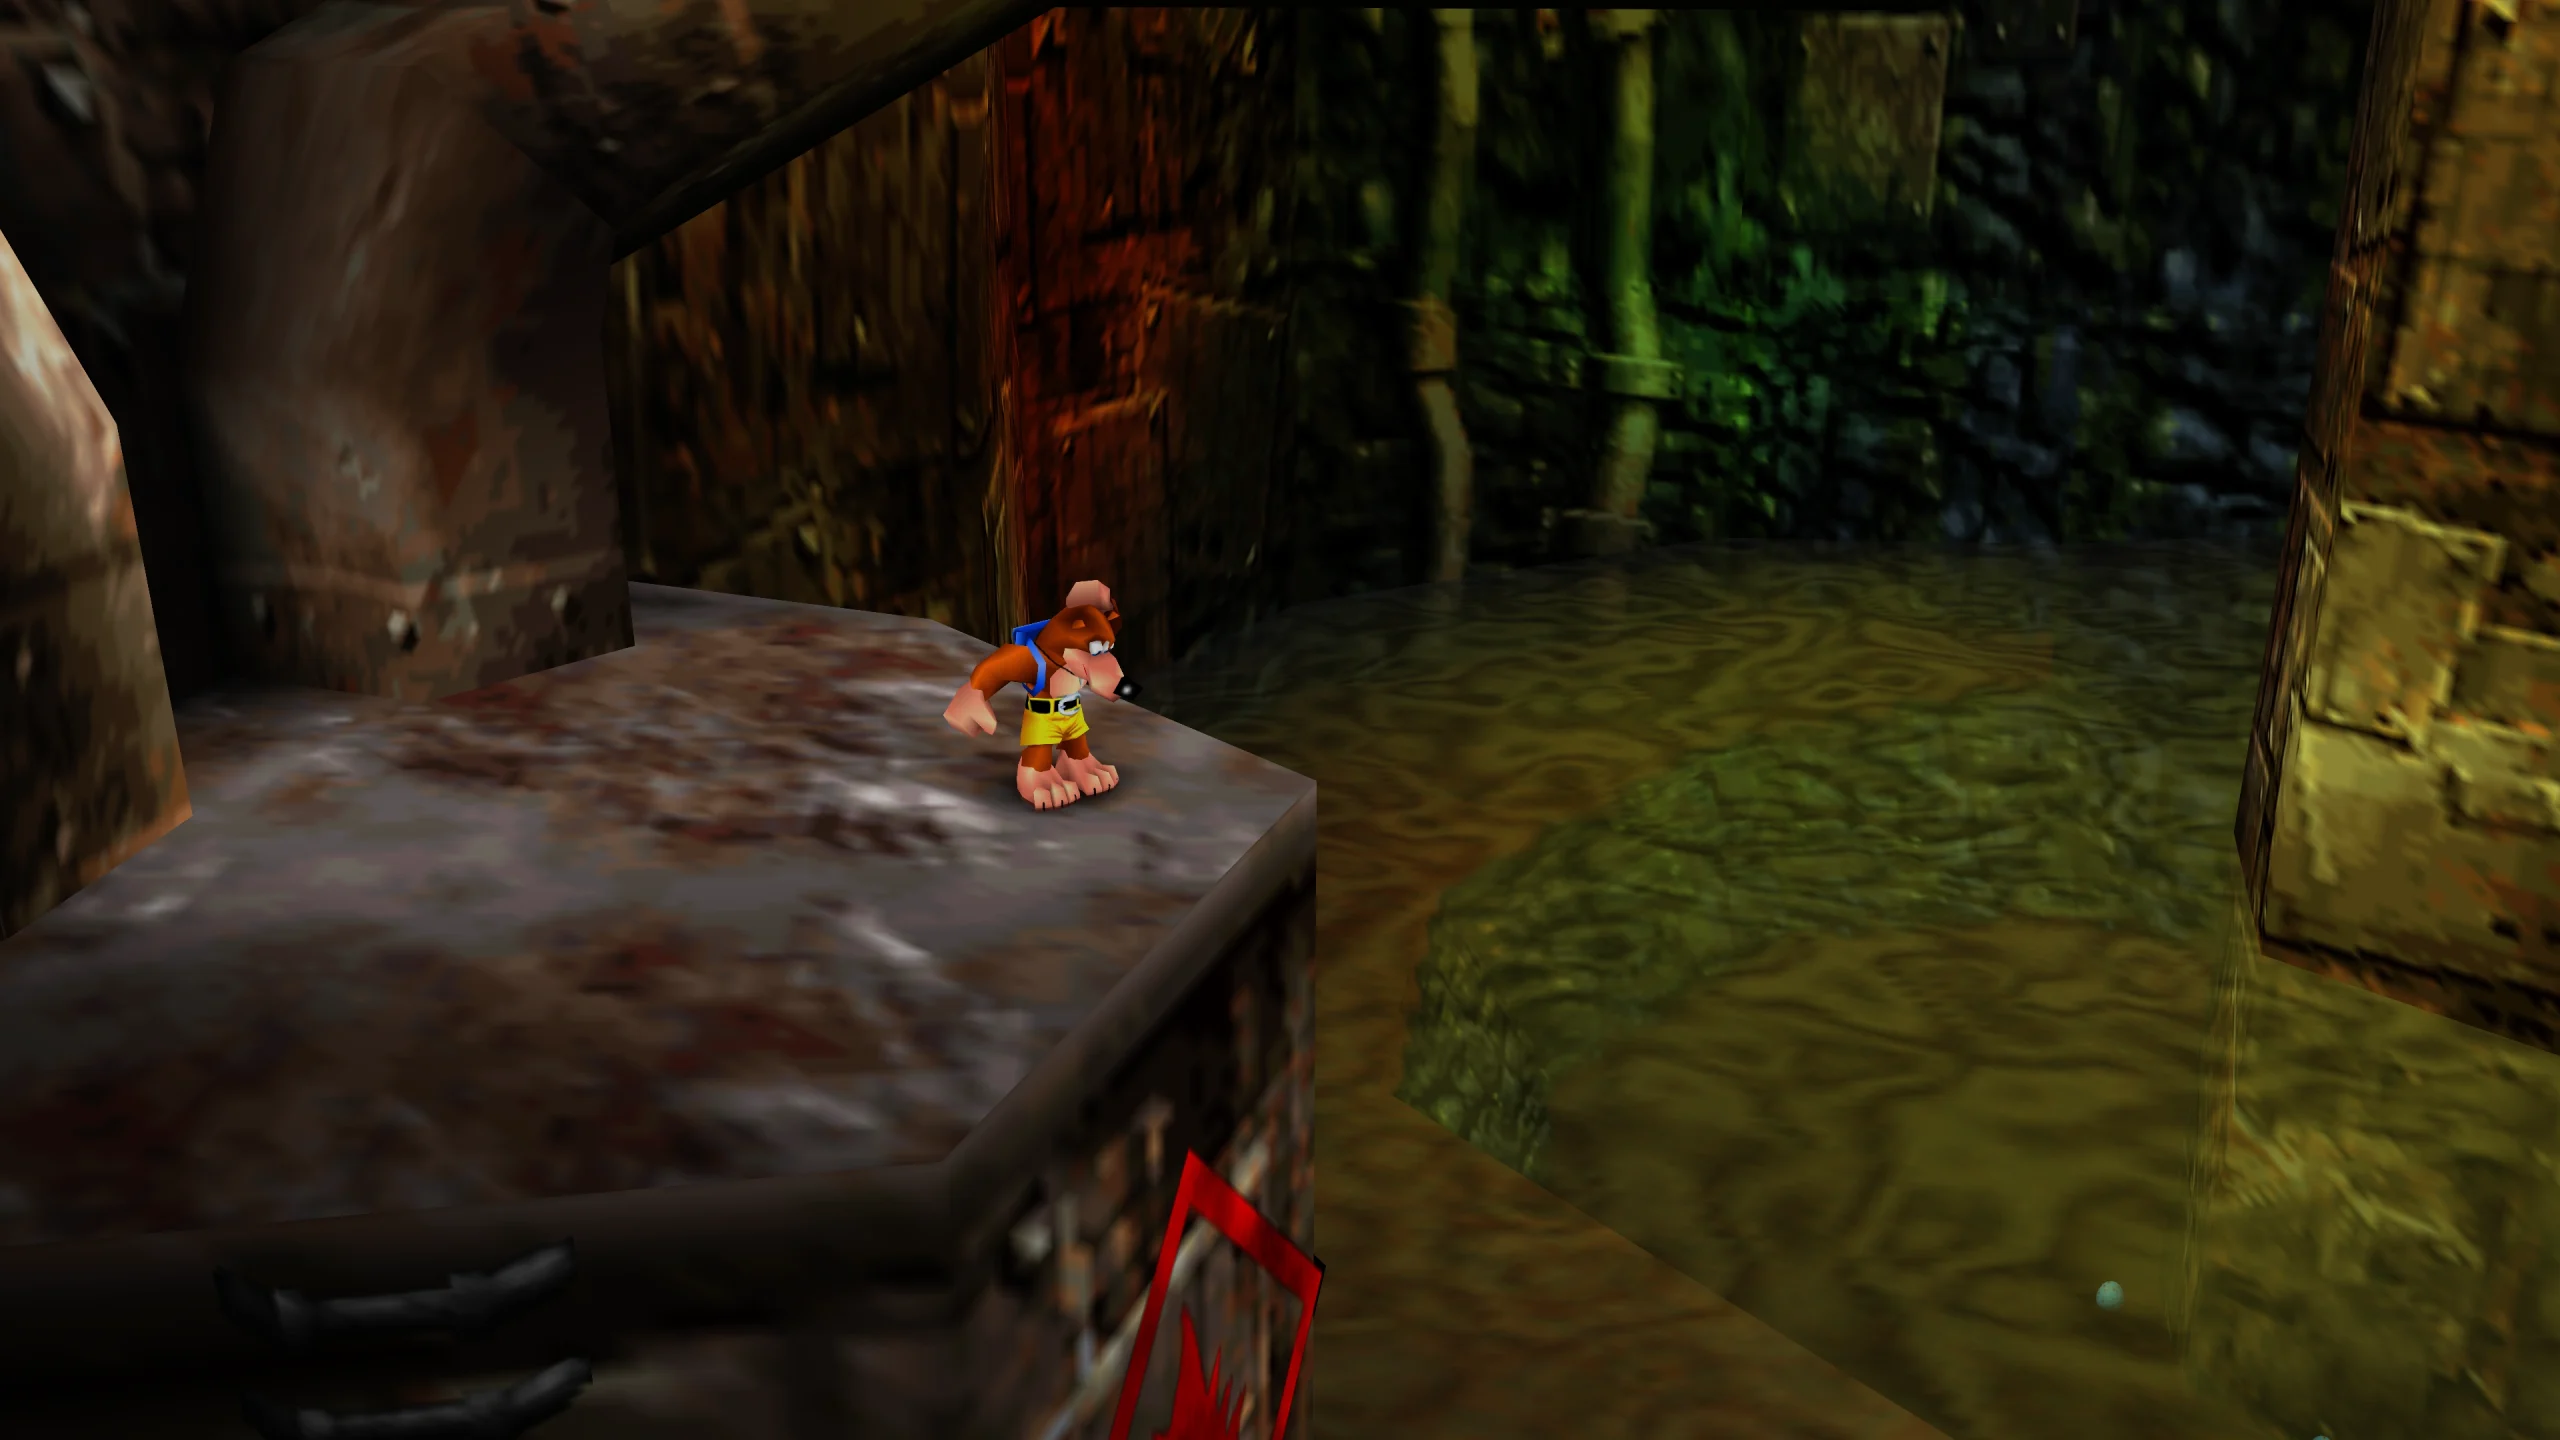
To take things even further, you can try the BK Reloaded texture pack, which changes and updates many of the games low resolution textures. For some, this particular texture pack is a step too far, but if you’re looking for the best visuals for this classic title, you should at least give it a try and you can always disable it if it’s not to your tastes.
Feel free to check any of the mods available here, and play the game the way you prefer.
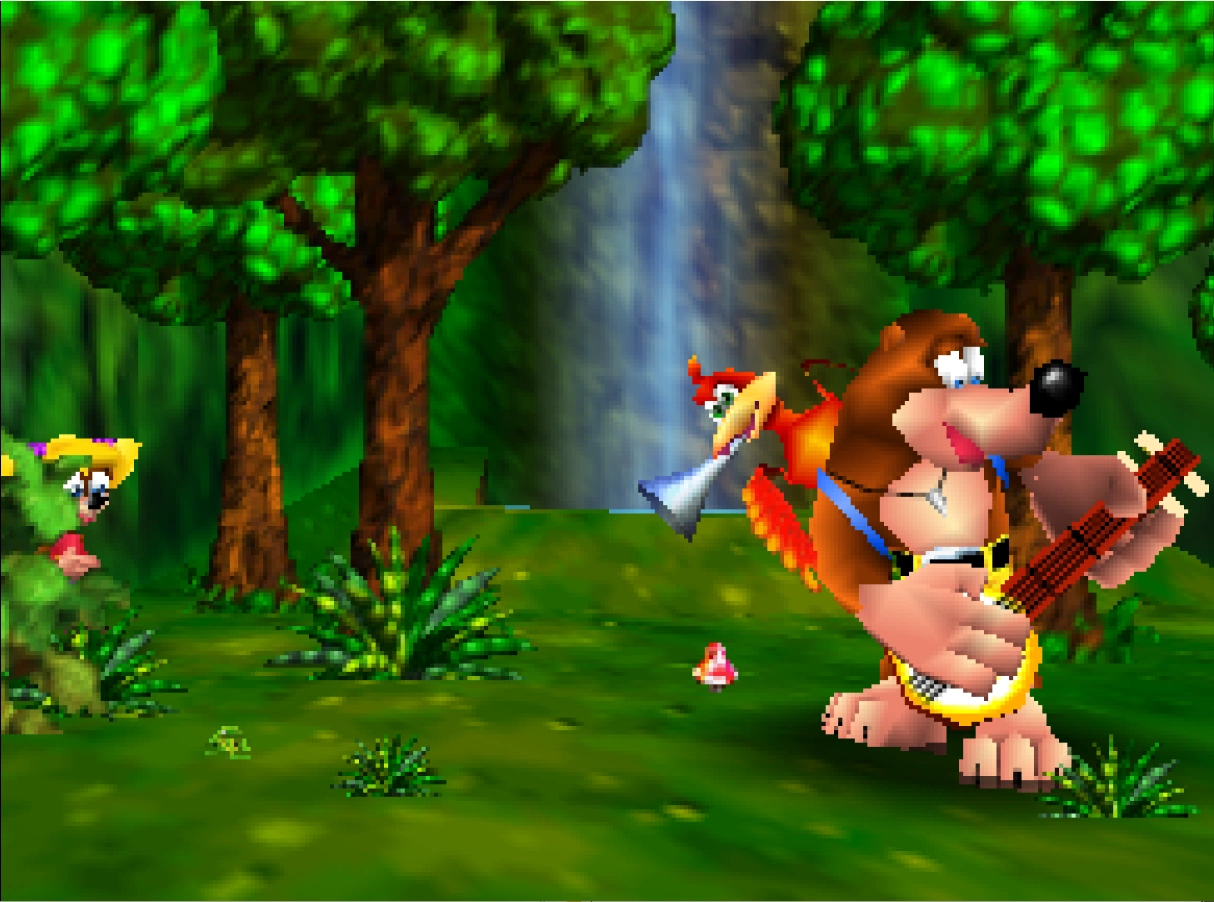
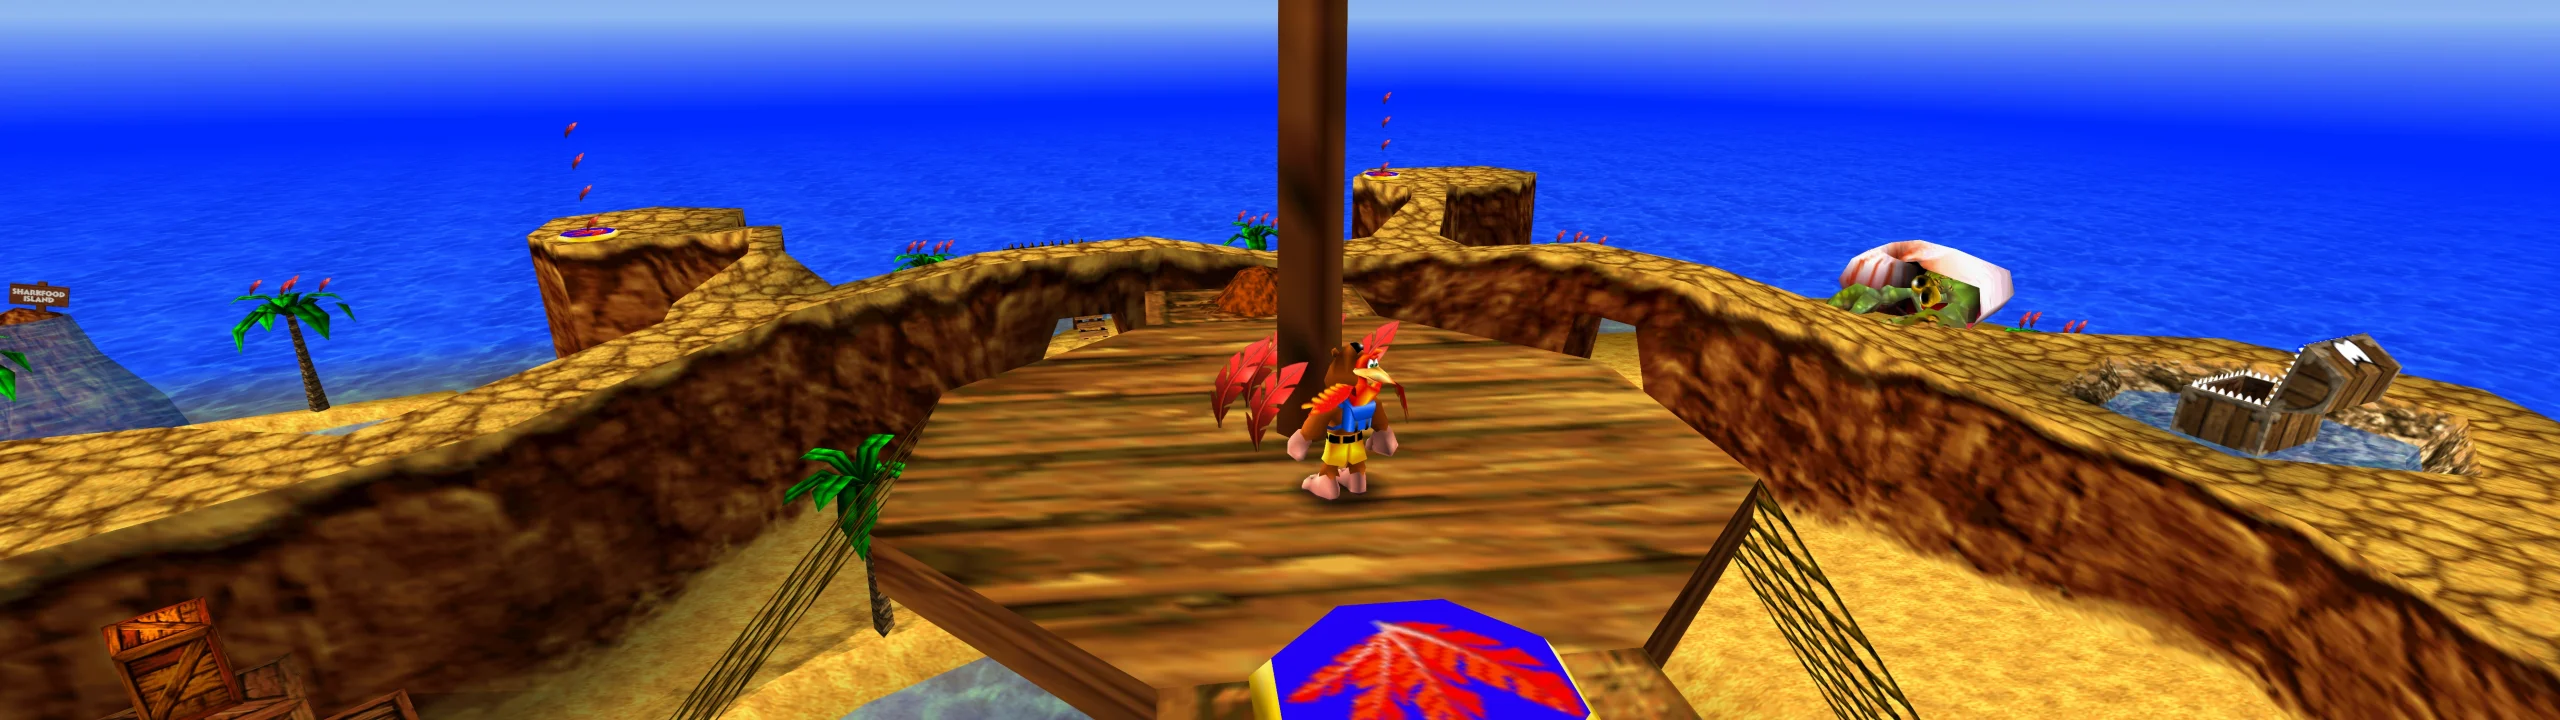
Screenshots
Click on any screenshot to enlarge it.